I'm a Ruby on Rails developer based in Chiang Mai, Thailand. I love to build stuff online using tools and languages designed for developer happiness.

I blog about tech, building, travel and anything else that might hold my interest at the moment.
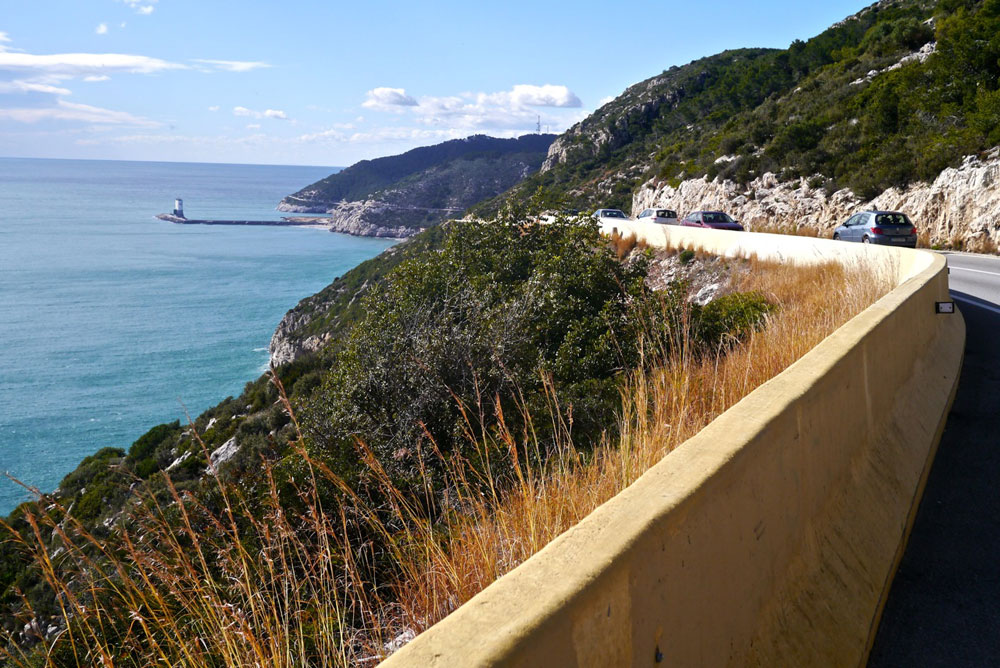
Valencia marked the start of my ride along the Mediterranean and I was hoping for a nice flat ride along the coast. As always there were some surprises along the way, both good and bad.
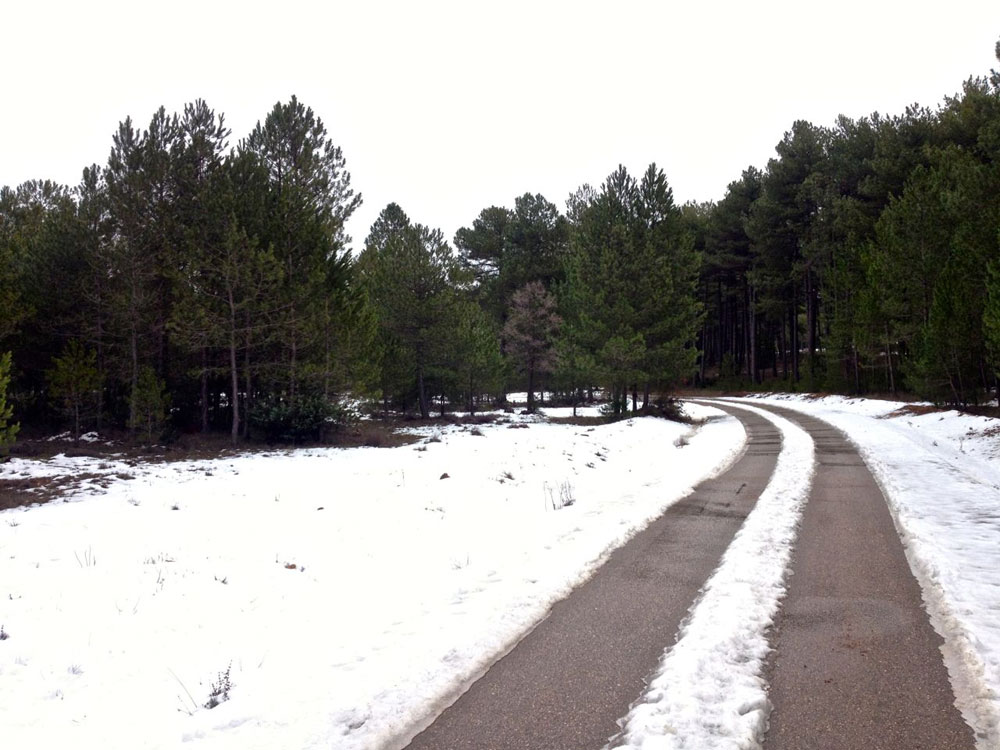
This 2 week ride through the heart of Spain was full of varied terrain and mixed weather conditions. With rolling hills, mountain climbs and even some snow along the way I was always kept on my toes and enjoyed every minute of it.
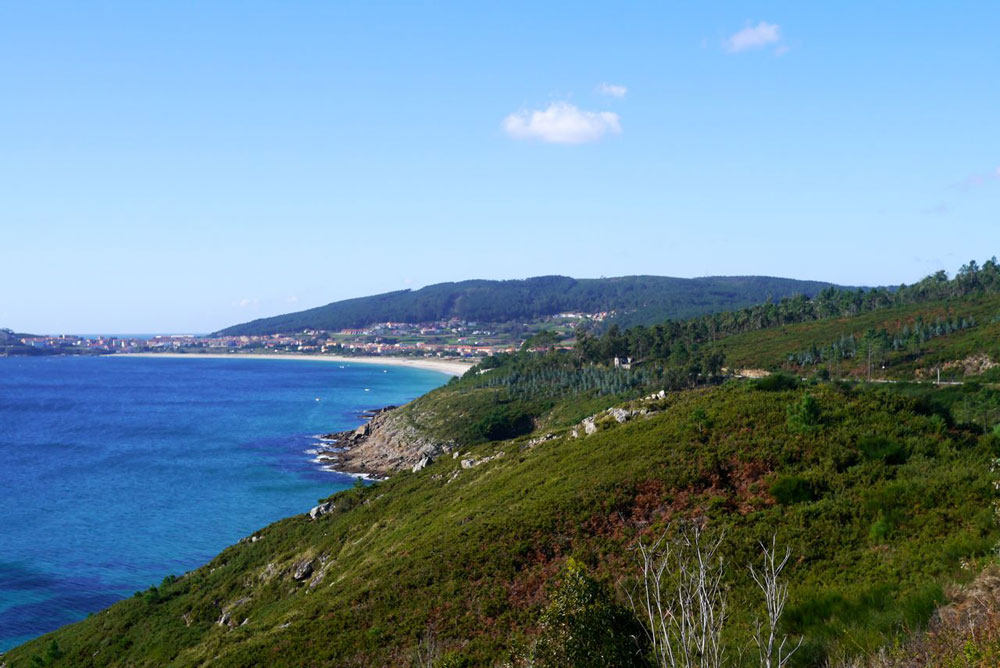
After spending a couple of weeks riding along the Camino Francés it was time to start heading south to Portugal. Before crossing the border I first took a detour via Finisterre and Muxia on the west coast of Spain.